Govee lights are widely known for their versatility in smart home lighting. However, one common question among users is whether Govee lights can be cut and reconnected without issues. This article discusses the feasibility of cutting and reconnecting Govee lights. In addition, we intend to discuss a lot regarding this subject.
So, if you are baffled whether you can cut Govee lights, this is the article for you. Let’s begin.
Can You Cut Govee Lights?
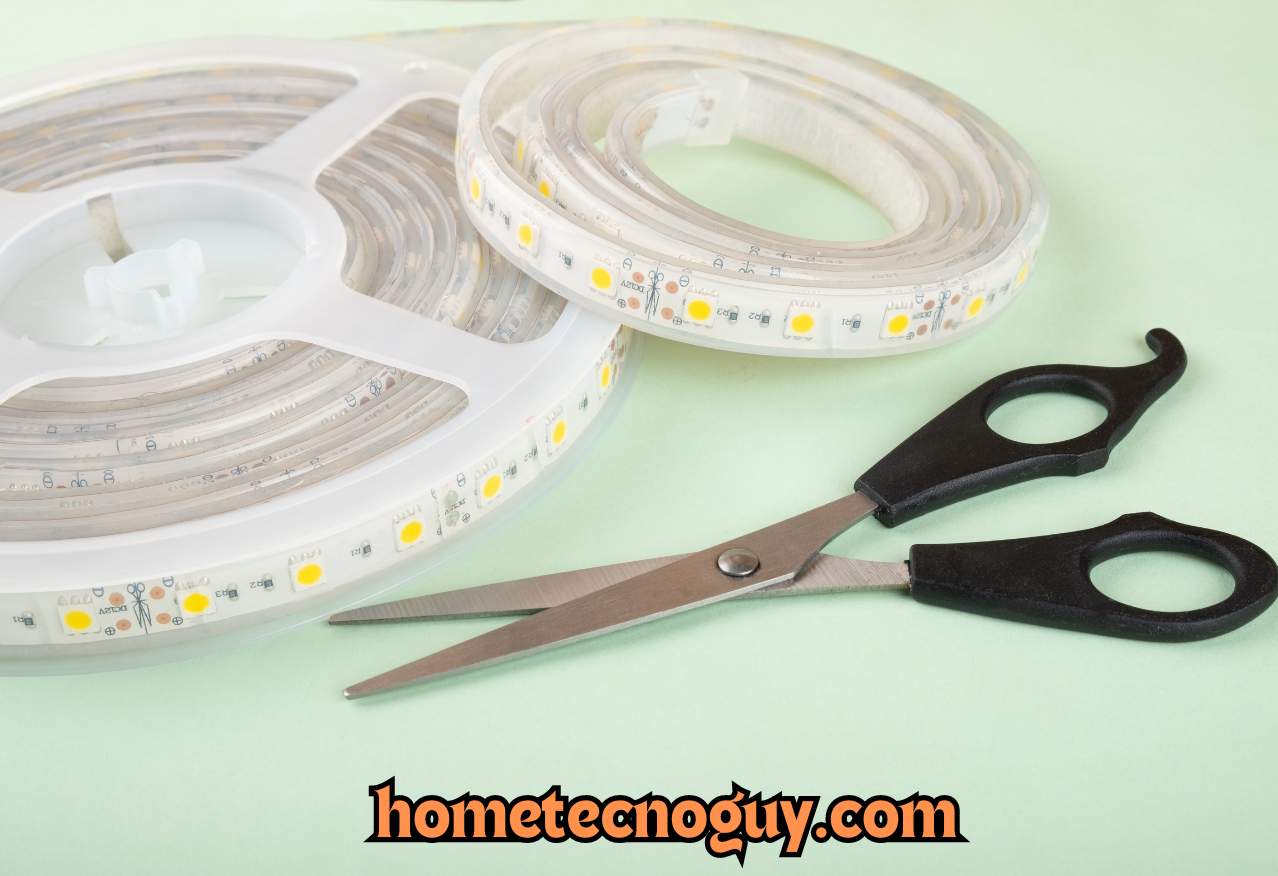
Yes, you can cut and reconnect Govee lights. There are cutting points typically marked with four small lines in specified intervals, allowing users to customize the length of the lights to fit different spaces accurately.
Before cutting Govee lights check the technical specifications provided by Govee for the specific product model. This may include information on where and how the lights can be safely cut without damaging the functionality of the remaining segments.
How to Cut and Reconnect Govee Lights?
Here is a step-by-step guide on how to cut and reconnect Govee lights safely.
1st Step
First, ensure your Govee lights are designed to be cut because some models, like certain RGBIC strip lights, cannot be cut without affecting their performance.
2nd Step
Find the designated cutting points on the strip. These are typically marked with scissor icons or gold color marks.
3rd Step
Use sharp scissors for clean and accurate cuts. Ensure your tools are suitable for cutting through the strip without damaging the LEDs or circuitry.
4th Step
Carefully cut along the marked line at the designated cutting point. Be precise to avoid damaging the rest of the strip.
5th Step
To reconnect cut segments, use soldering or connectors recommended by Govee. Follow manufacturer instructions for proper electrical connections. Before installing the cut segments, test them to ensure they still function properly. This prevents issues during installation.
Final Step
Once tested, install the cut segments according to your lighting plan. Ensure all connections are secure and follow safety guidelines.
Related: Do Govee Lights Damage Walls?
Can all Govee Lights be Cut and Reconnected?
No, not all LED light strips can be cut and reconnected. For example, certain Govee RGBIC strip lights cannot be cut because the LEDs are controlled by individual IC chips. If you try to cut these strip lights, it may cause them to stop working entirely. That is why we recommend checking the specifications of your LED lights before attempting to cut them.
Why is it Important to Follow the Designated Cutting Points on LED Light Strips?
It is super important to follow the designated cutting points on LED light strips because these points are specifically engineered to maintain the functionality of the lights. Cutting at other locations may damage the circuitry or LEDs, leading to partial or complete failure of the strip.
How to Connect Govee Lights Together Without Connectors?
Connecting Govee lights together without connectors typically requires soldering as a method to establish electrical connections between cut segments of the light strips. Here’s a step-by-step guide for you.
1st Step
Ensure the segments of Govee lights you intend to connect are cut cleanly at designated cutting points.
2nd Step
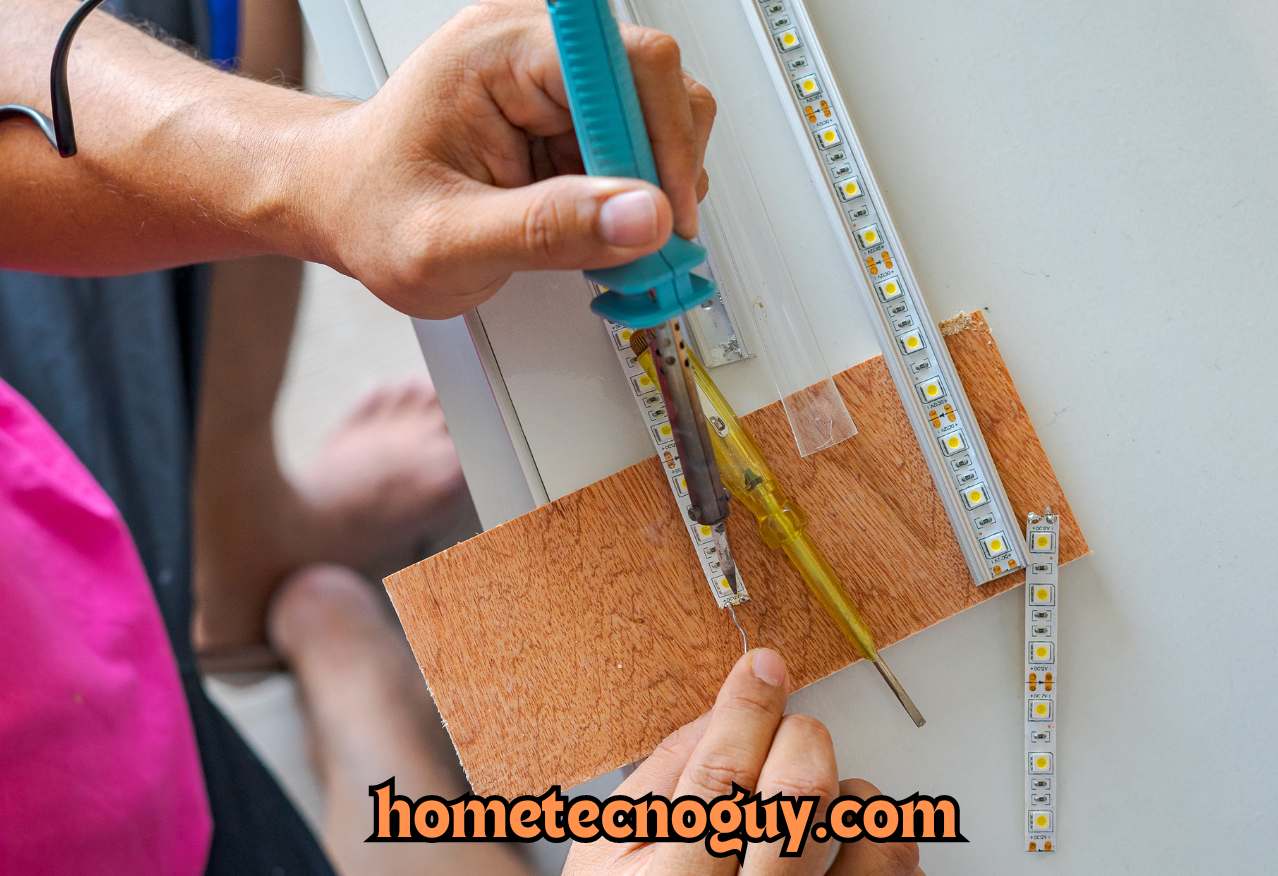
Strip back a small amount of the protective coating on each end of the cut segments to expose the copper pads. These pads will be used for soldering.
3rd Step
Use a soldering iron and solder wire. Ensure your soldering iron is heated to the appropriate temperature for working with LED light strips.
4th Step
Apply a small amount of solder to the exposed copper pads on both ends of the cut segments. This helps create a conductive surface for electrical connection.
4th Step
Carefully align the cut ends of the segments to be connected. Touch the soldering iron tip with solder to the copper pads on both ends simultaneously, allowing the solder to melt and create a secure electrical bond.
5th Step
After you complete soldering, it is important to visually inspect the connections in order to ensure there are no loose wires or excess solder bridging connections. Once you are satisfied, then, test the continuity of the connected segments before installing them where you want.
6th Step
Once testing is done, secure the connected segments in place using adhesive or clips to minimize the stress on the soldered joints. We recommend using heat shrink tubing or electrical tape to insulate and protect the soldered connections from moisture and mechanical damage.

Peter Willy is a dedicated smart home lighting enthusiast with a passion for exploring the latest innovations in the field. With years of hands-on experience, Peter buys new smart lighting products, rigorously tests them, and shares his insights through detailed troubleshooting guides and informative articles. His deep understanding of smart lighting technology and commitment to helping others make him a trusted source for anyone looking to enhance their home with the latest in smart lighting solutions

![Read more about the article Why Are My Govee Lights Flickering? [SOLVED]](https://hometecnoguy.com/wp-content/uploads/2024/07/hometecnoguy.com-7-300x206.jpg)